BREAKING THE BINDING RULES
This is a tutorial on how I like to bind my quilts. It doesn't follow the binding law, but it works well for me.
Here are the supplies I use to bind quilts:
Quilt binding
Top thread that matches the binding (I am using teal)
Walking foot
Two bobbins:
One that matches the backing of the quilt (I am using white)
One that will stand out on the front of the quilt. (I am using
red. This color will not show.)
I put the red bobbin in the bobbin case, and the teal thread on top. I sew my binding on the BACK of the quilt as most people would do to the front. You can see the red thread showing on the front in the picture above. After the binding is sewn, I press it out away from the quilt. Then I change my bobbin to white, which is the color of the back of my quilt.
I don't iron or pin the binding to the front of the quilt. I like to have control of where the binding lays when I flip it to the front. In this case, I want to bring it over just enough to cover my red thread. I don’t want the stitches to show on the back of my quilt binding. As long as I stay on or to the left of the red thread, it wont show.
I increase my stitch length to 3.0. Also, I make sure the binding lays against the guard on my walking foot and that my needle is to the right of it. Below is a closer look. Any walking foot will do. You just have to find the spot on your foot that works best for you.
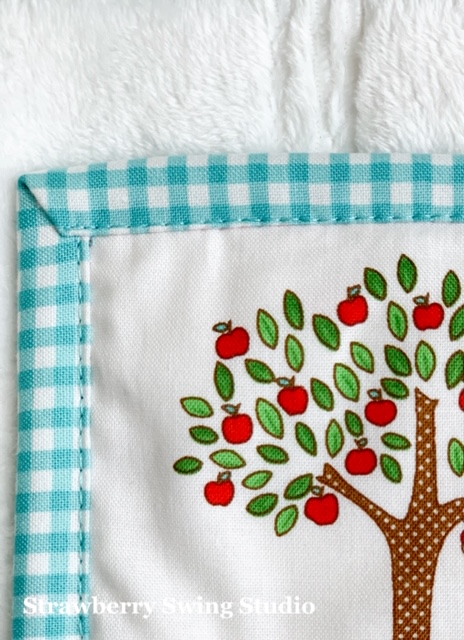
In the pictures below, you can see how I like to stitch my corners. I stitch past the red thread, do a back stitch, and then cut my thread.
I fold over my binding and place the needle where the scissors point in the picture below. I back stitch and then continue forward until all sides are complete (as you normally would when you bind a quilt).
I really like this method and love the way the machine adds additional texture to the binding. I really hope this tutorial helps you. If you have any questions please don't hesitate to ask.
Happy Binding,
Debbie


